Wii U
You can connect your Wii U to Pretendo using one of 2 methods. Each method has benefits and drawbacks, which will be described in their respective sections.
Once you have selected a connection method and set up your Wii U, see "PNID Setup".
If you have save data from a Nintendo Network ID you would like to move to your Pretendo Network ID, follow this section.
SSSL
Pros:
- Does not require homebrew
- Very easy to setup
Cons:
- Only a subset of services are supported
- Lacks additional features and patches
- May not function under certain ISP related conditions (self-hosted DNS tool is in development)
- Requires changing network settings to disconnect
SSSL is a (limited) hackless method of accessing most services by exploiting a bug in the Wii U's SSL module. All Nintendo Network games produced by Nintendo are supported by SSSL, as are the in-game Miiverse features. The main Miiverse app, in-game posting app, and any game which uses its own SSL stack (YouTube, WATCH_DOGS, etc.), are NOT supported by this method, as they are unaffected by the SSL exploit.
To connect using SSSL, open System Settings > Internet > Connect to the Internet. Open the settings for your network connection and open DNS. Select Don't Auto-obtain. Enter 88.198.140.154 as the Primary DNS. Enter another public DNS server address as the Secondary DNS, such as 8.8.8.8 (Google Public DNS) or 1.1.1.1 (Cloudflare-DNS). You should now be able to setup and login to your Pretendo Network ID as normal.
To disconnect from Pretendo Network either remove the Primary DNS address or change back to Auto-obtain.
Inkay
Pros:
- All services supported
- Contains additional features and patches
- No ISP related issues
- Easy toggle on and off
Cons:
- Requires homebrew
- Requires several steps to setup
The stable build is recommended for most users, however beta testers and others may be interested in the bleeding edge build.
Stable
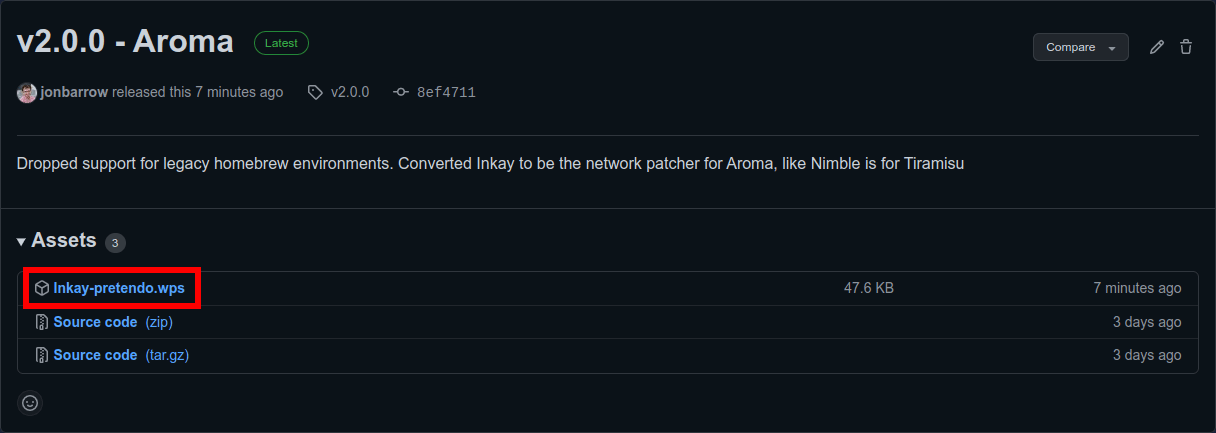
The stable builds have been widely tested to ensure everything works as intended. Navigate to Inkay's latest release on GitHub and download the Inkay-pretendo.wps file from the latest release.
Bleeding Edge
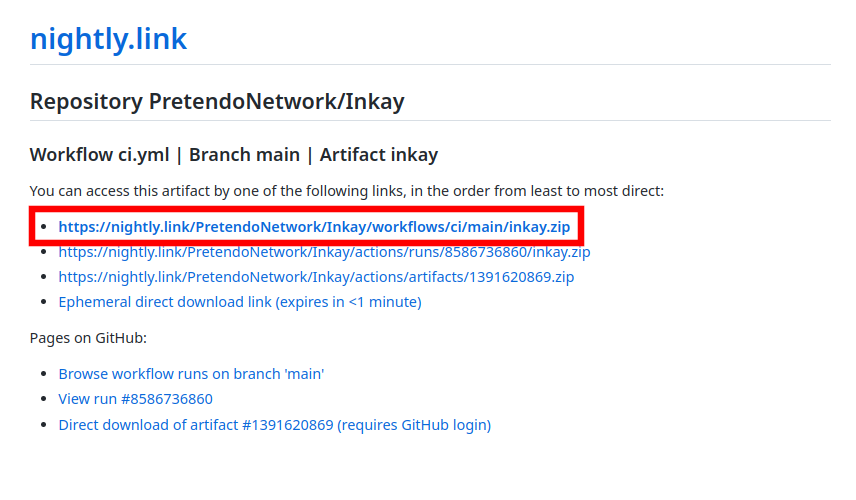
Bleeding edge builds have not been widely tested, and do not guarantee any stability. Download the latest build from nightly. Extract inkay.zip.
Installation
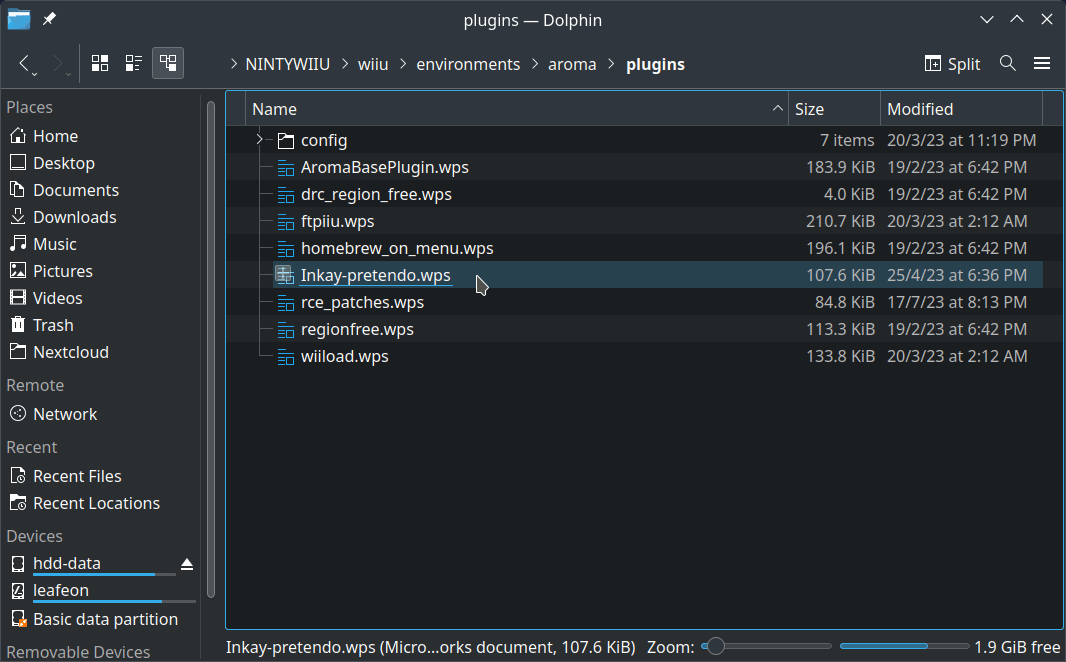
Place the downloaded Inkay-pretendo.wps file on your SD card at sd:/wiiu/environments/aroma/plugins. It's normal for other Aroma plugins to be in this folder too.
Place your SD card back into your console and boot like normal. You should see a notification of your connection:
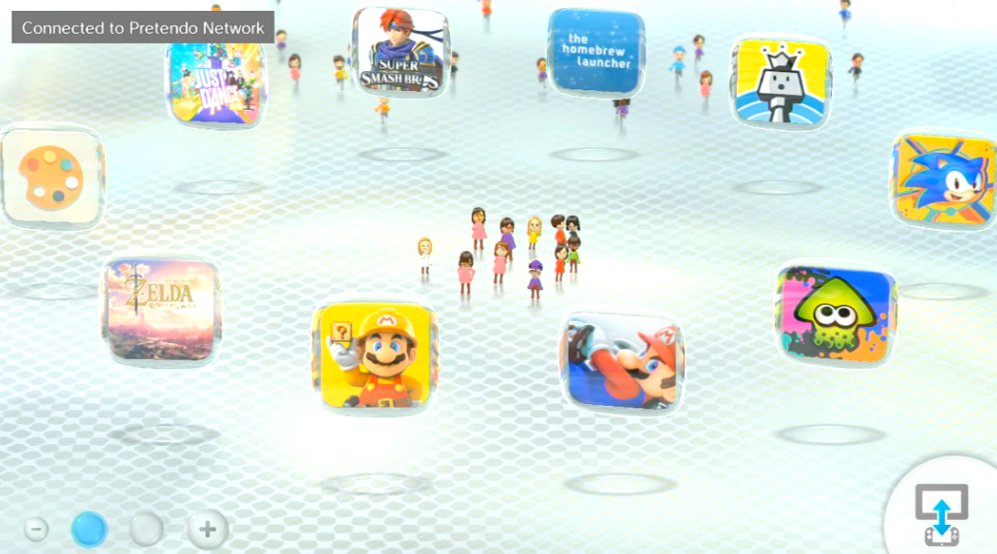
You are now connected to Pretendo Network.
Disconnecting
Press L + Down + SELECT on the Wii U GamePad to open the Aroma plugin menu.
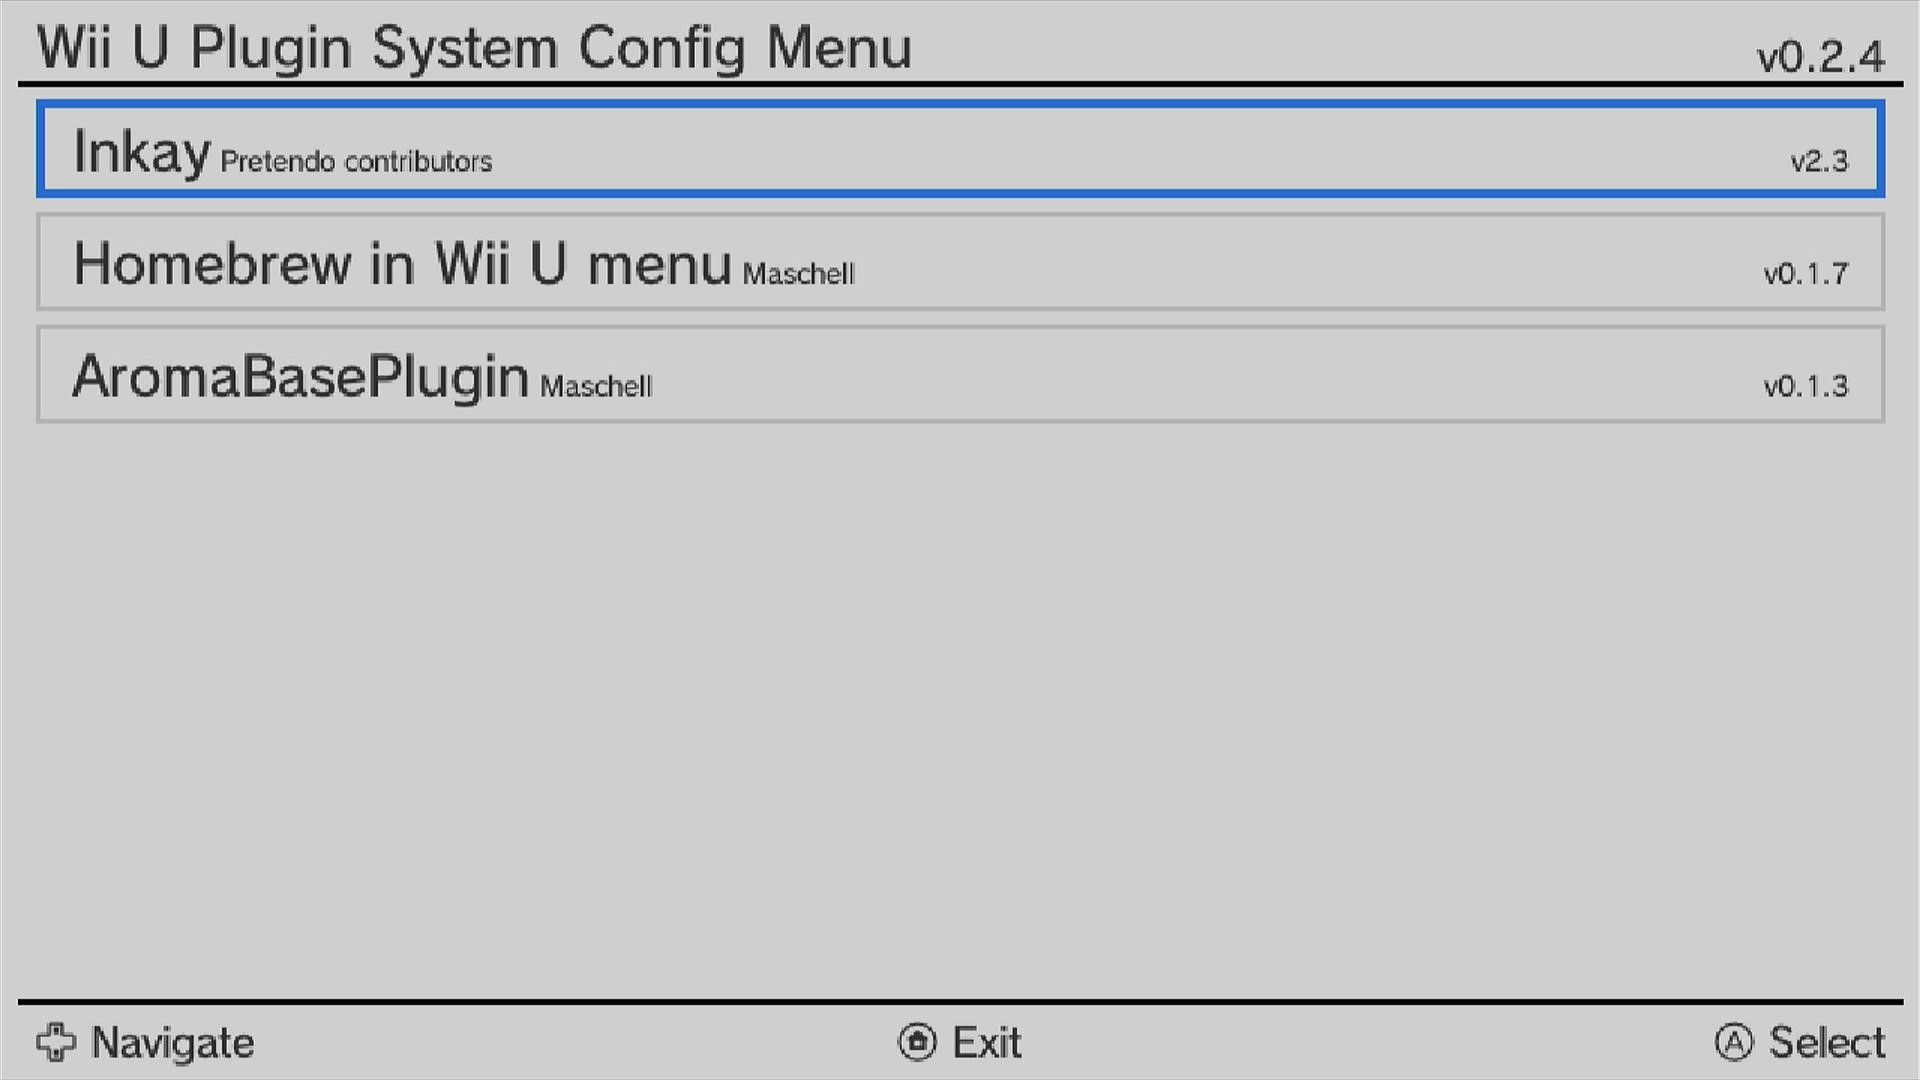
Locate and select 'Inkay', then choose 'Patching'. Now, set 'Connect to the Pretendo Network' to false.
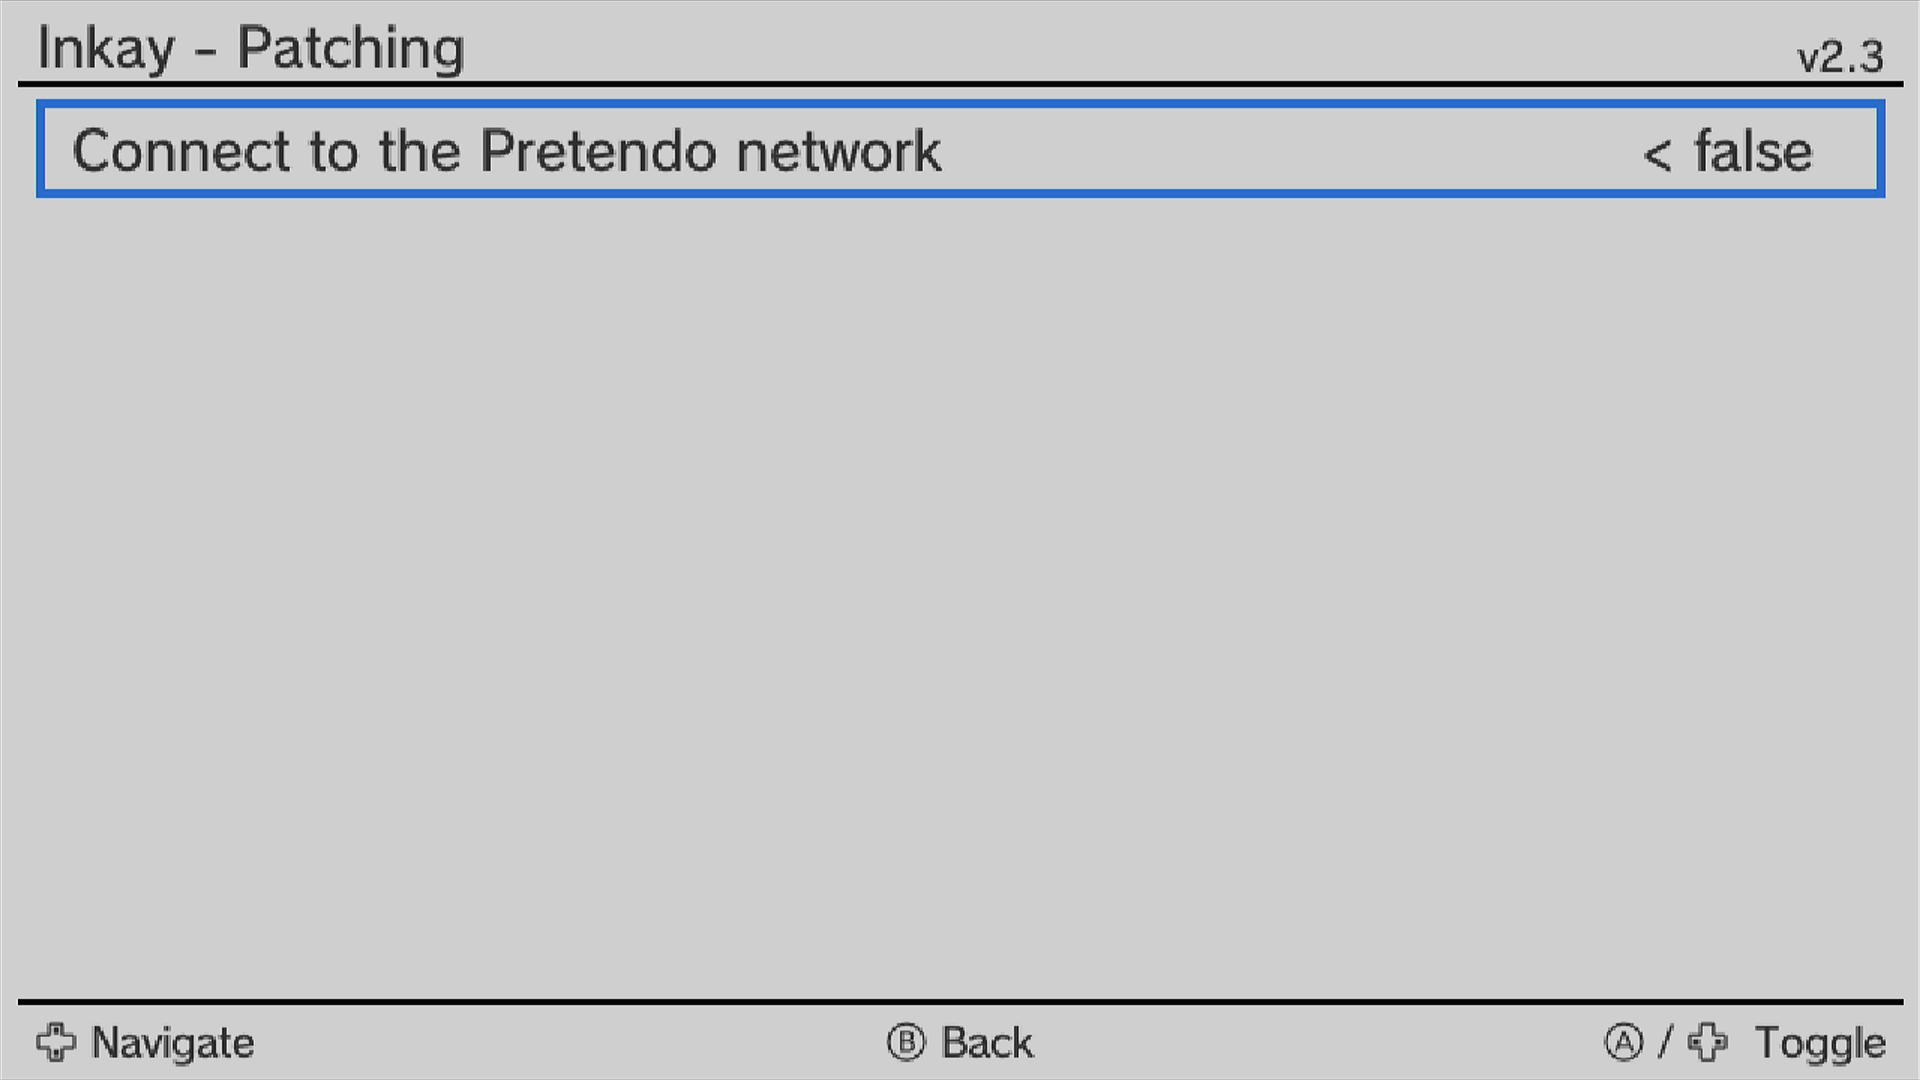
Press B twice, followed by the HOME button. The console will reboot with Pretendo Network patches disabled, as confirmed by the 'Using Nintendo Network' message.
To return to Pretendo Network, repeat the process ensuring 'Connect to the Pretendo Network' is set to true.
PNID Setup
After installing Pretendo, you must register a Pretendo Network ID (PNID). There is currently two ways of creating a PNID: Creating an account with the website and linking it, or creating it on your Wii U.
Website
You will want to register an account from here and click Don't have an account? to register.
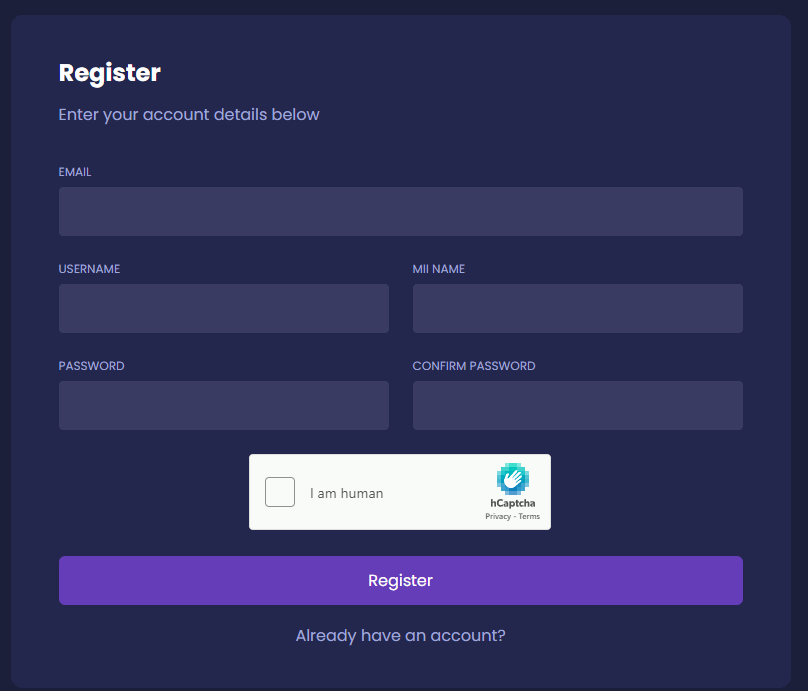
Once your account is registered, link it to your console as you would a Nintendo Network ID.
Wii U
Create the Pretendo Network ID as you would a Nintendo Network ID.
Transferring save data to your Pretendo Network account
Pretendo Network is not compatible with existing Nintendo Network IDs. This means you must create a new account. Because of this, you may want to move existing game save data to your new account.
To move your save data, you will need a save data backup homebrew application. This guide will use the WUT port of SaveMii for Aroma. To begin, download the latest GitHub release of SaveMii or download it from the Homebrew App Store.
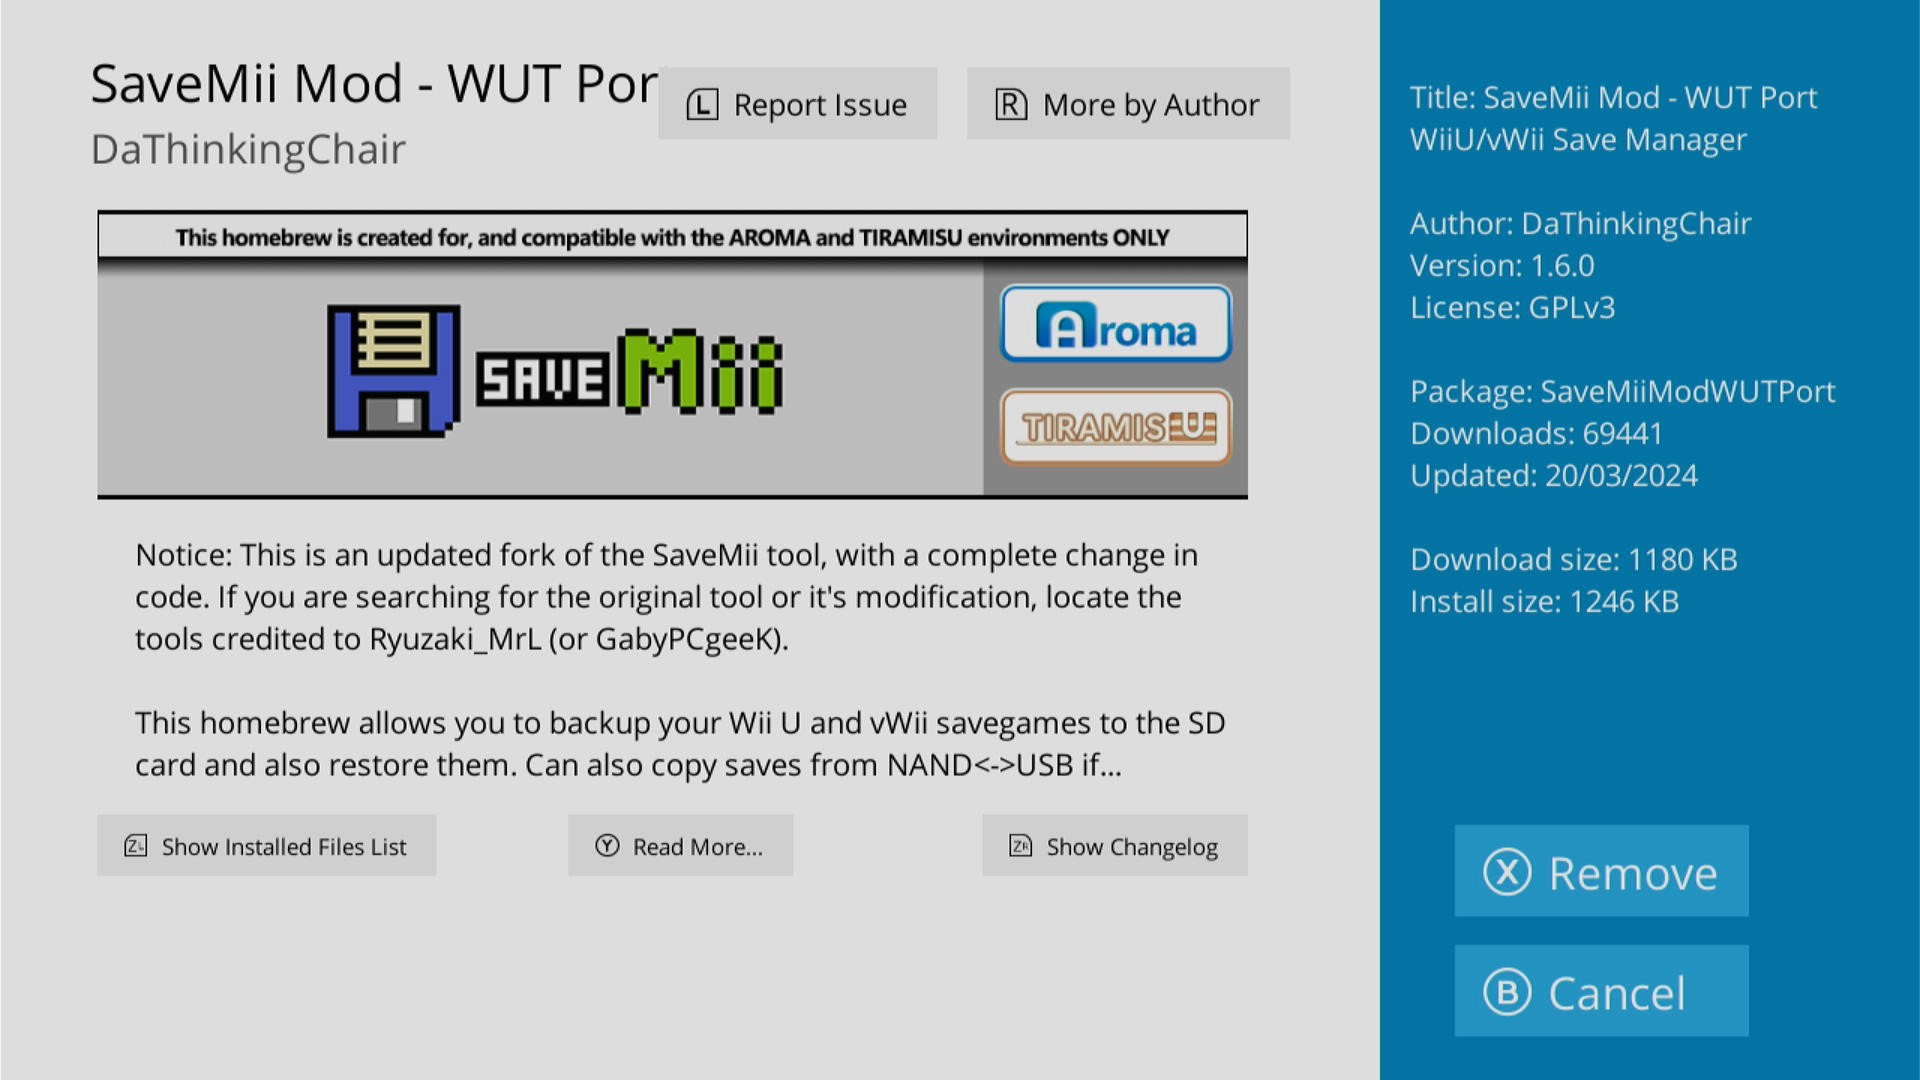
Once installed, open the application from the HOME Menu. You should see a menu for Wii U and vWii saves.
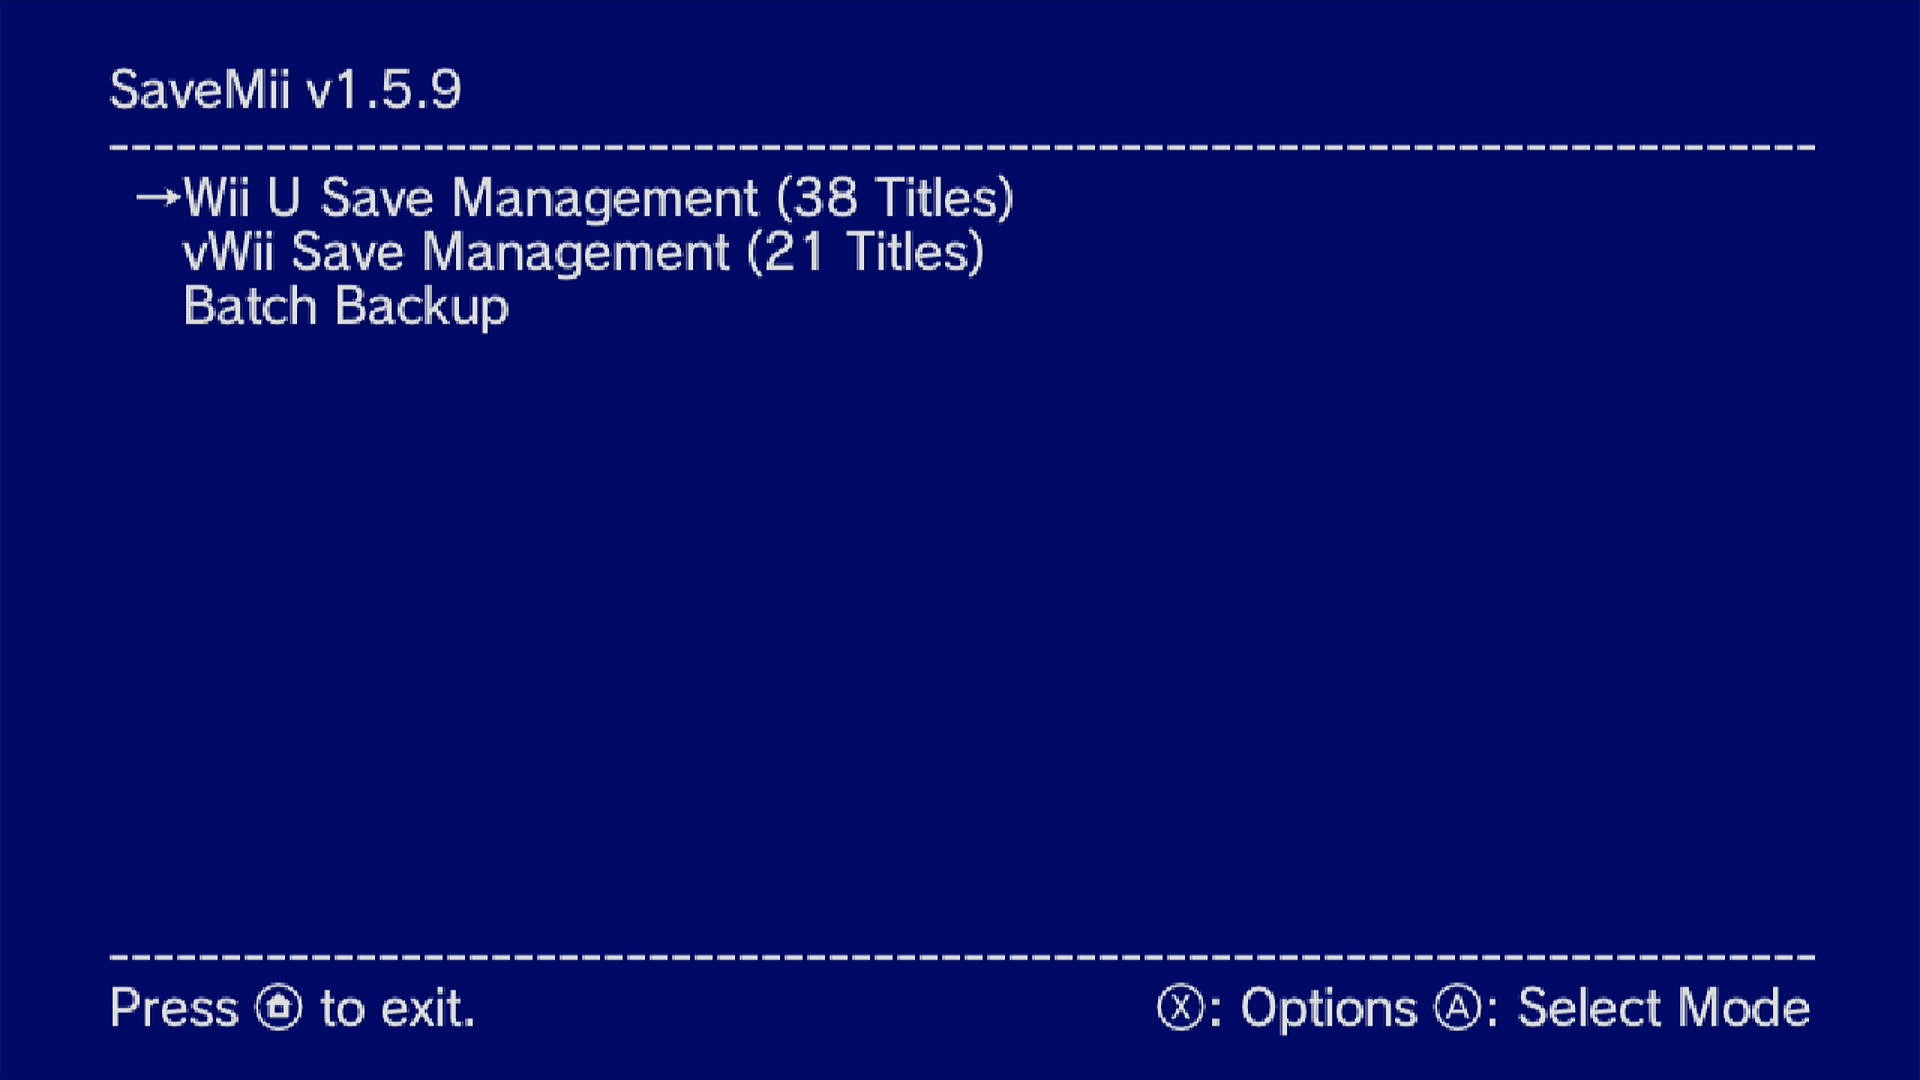
Select Wii U Save Management. You should now see a list of installed games. Find and select the game you would like to transfer the save data of.
Select Backup savedata.
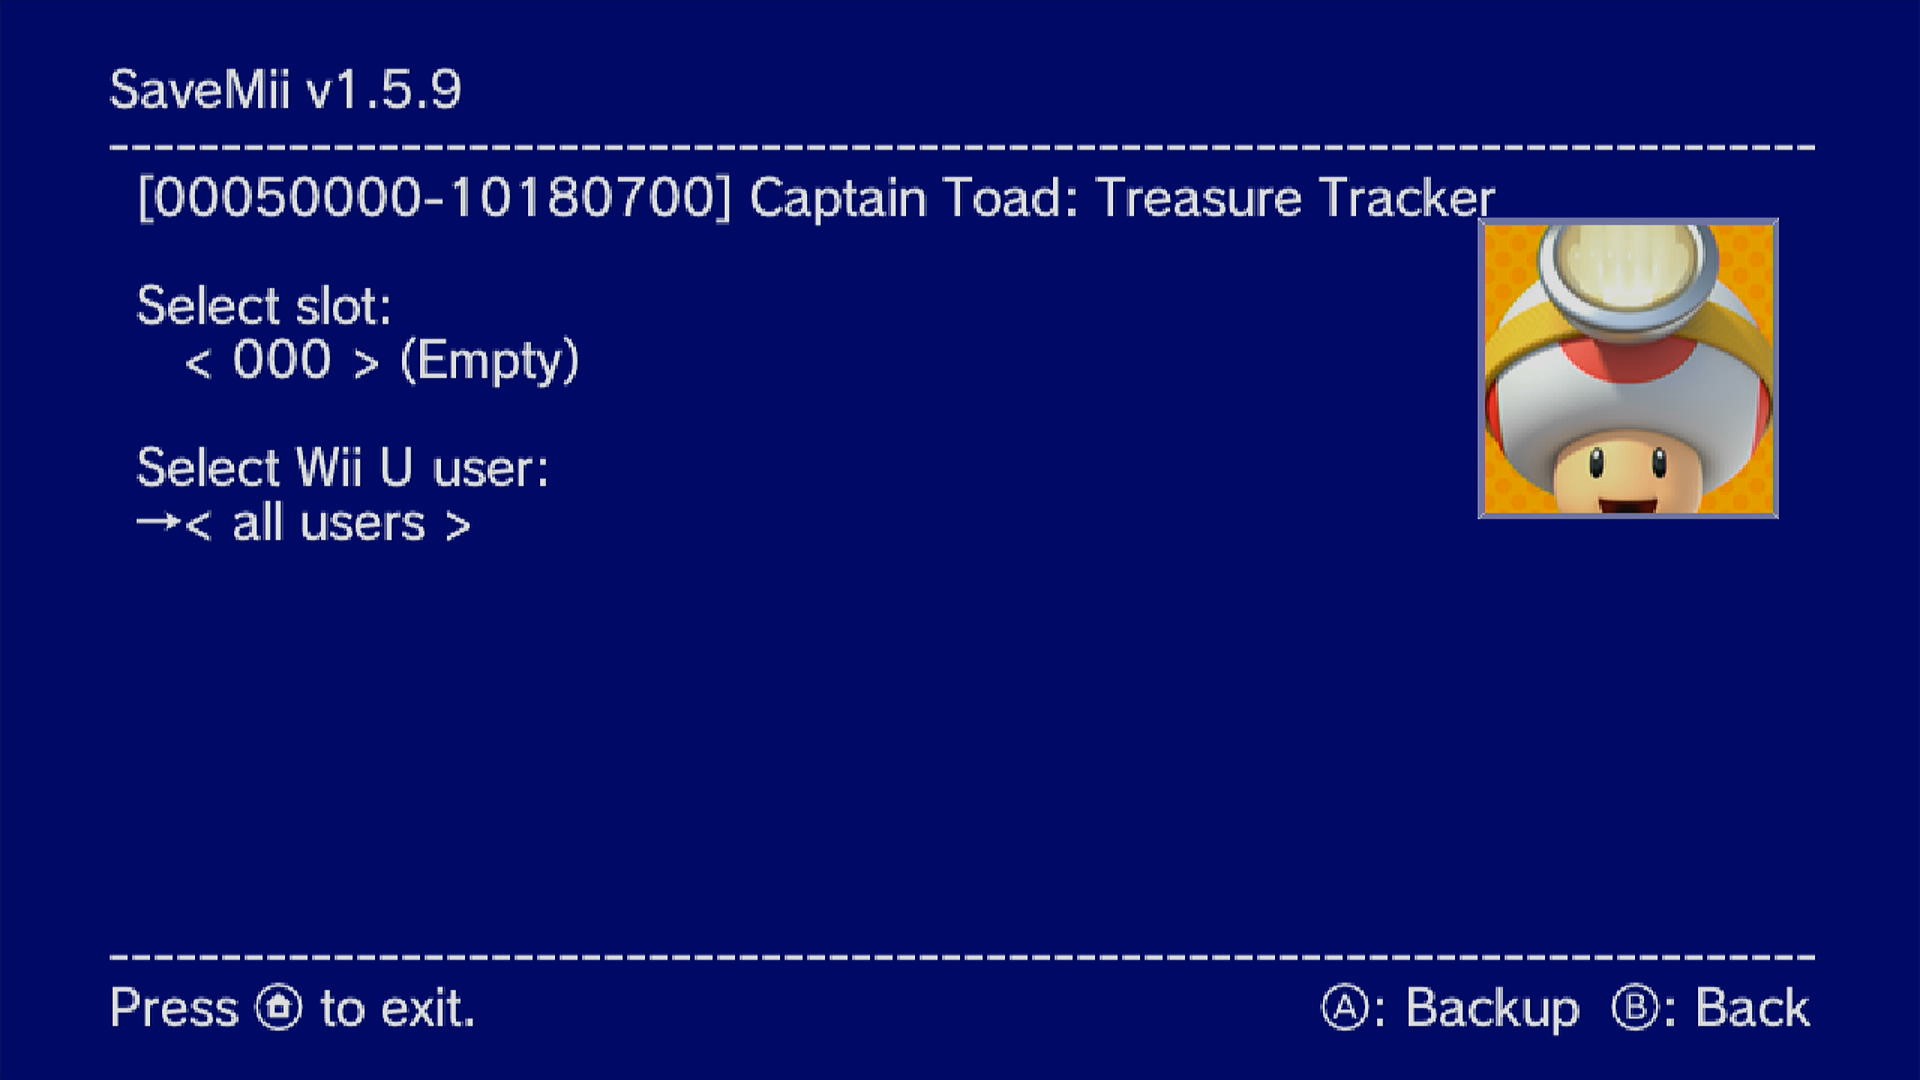
Select a new slot to backup the save data to. If you select a non-empty slot, the backup data in that slot will be overwritten.
Select the profile to backup the save data from. This should be your Nintendo Network ID.
Optionally you may select to backup "common" save data. This save data should be shared by all users, and is not required to be backed up. Though you may still do so if you choose.
Press the A button when ready to backup your save data.
Once the backup has completed, press the B button to return to the games menu. Select Restore savedata.
Select the backup slot you just backed the save data up to.
Select the profile to restore the save data to. This should be your Pretendo Network ID.
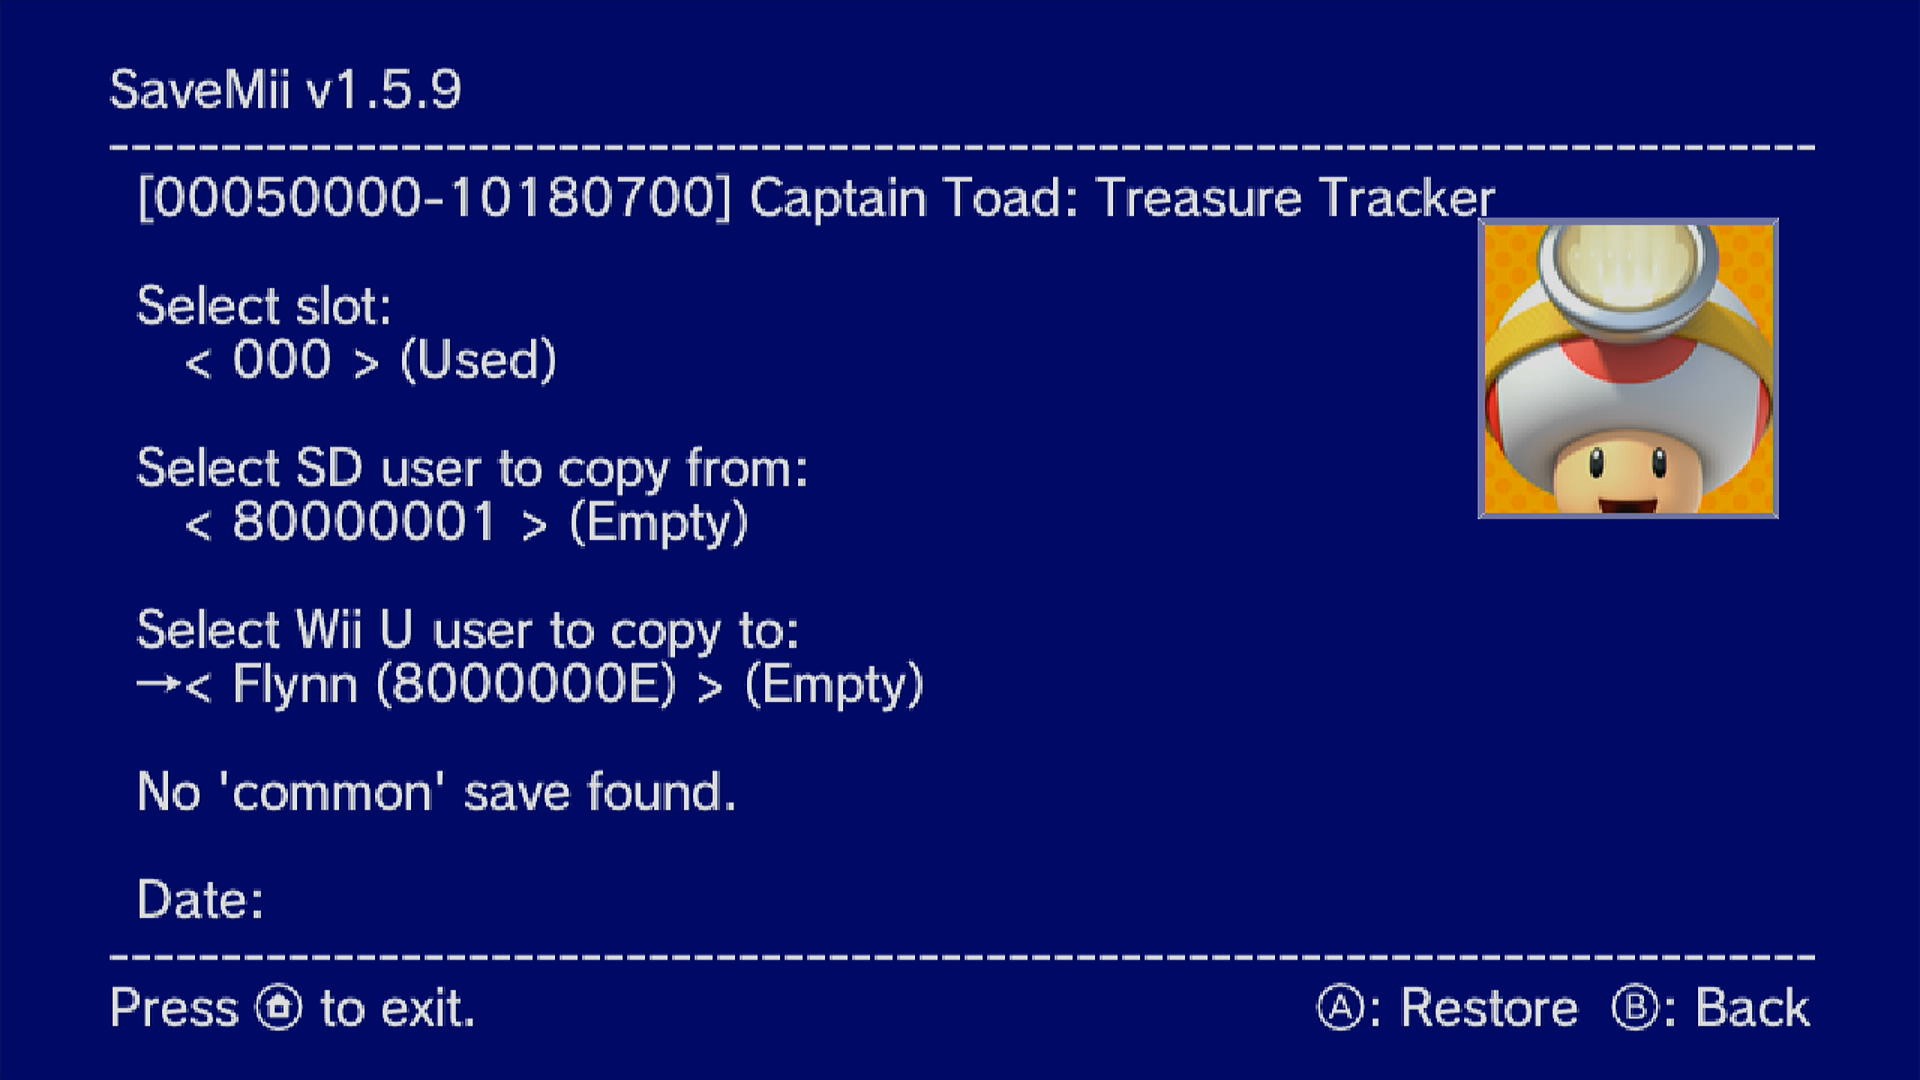
When ready, press the A button to transfer your data. Press A again to confirm your actions. If you get a message about backing up your data on your Pretendo profile, ignore. Your screen may briefly flash as the data is copied over.
Once completed, exit SaveMii and ensure the game you transferred works properly on your Pretendo profile.
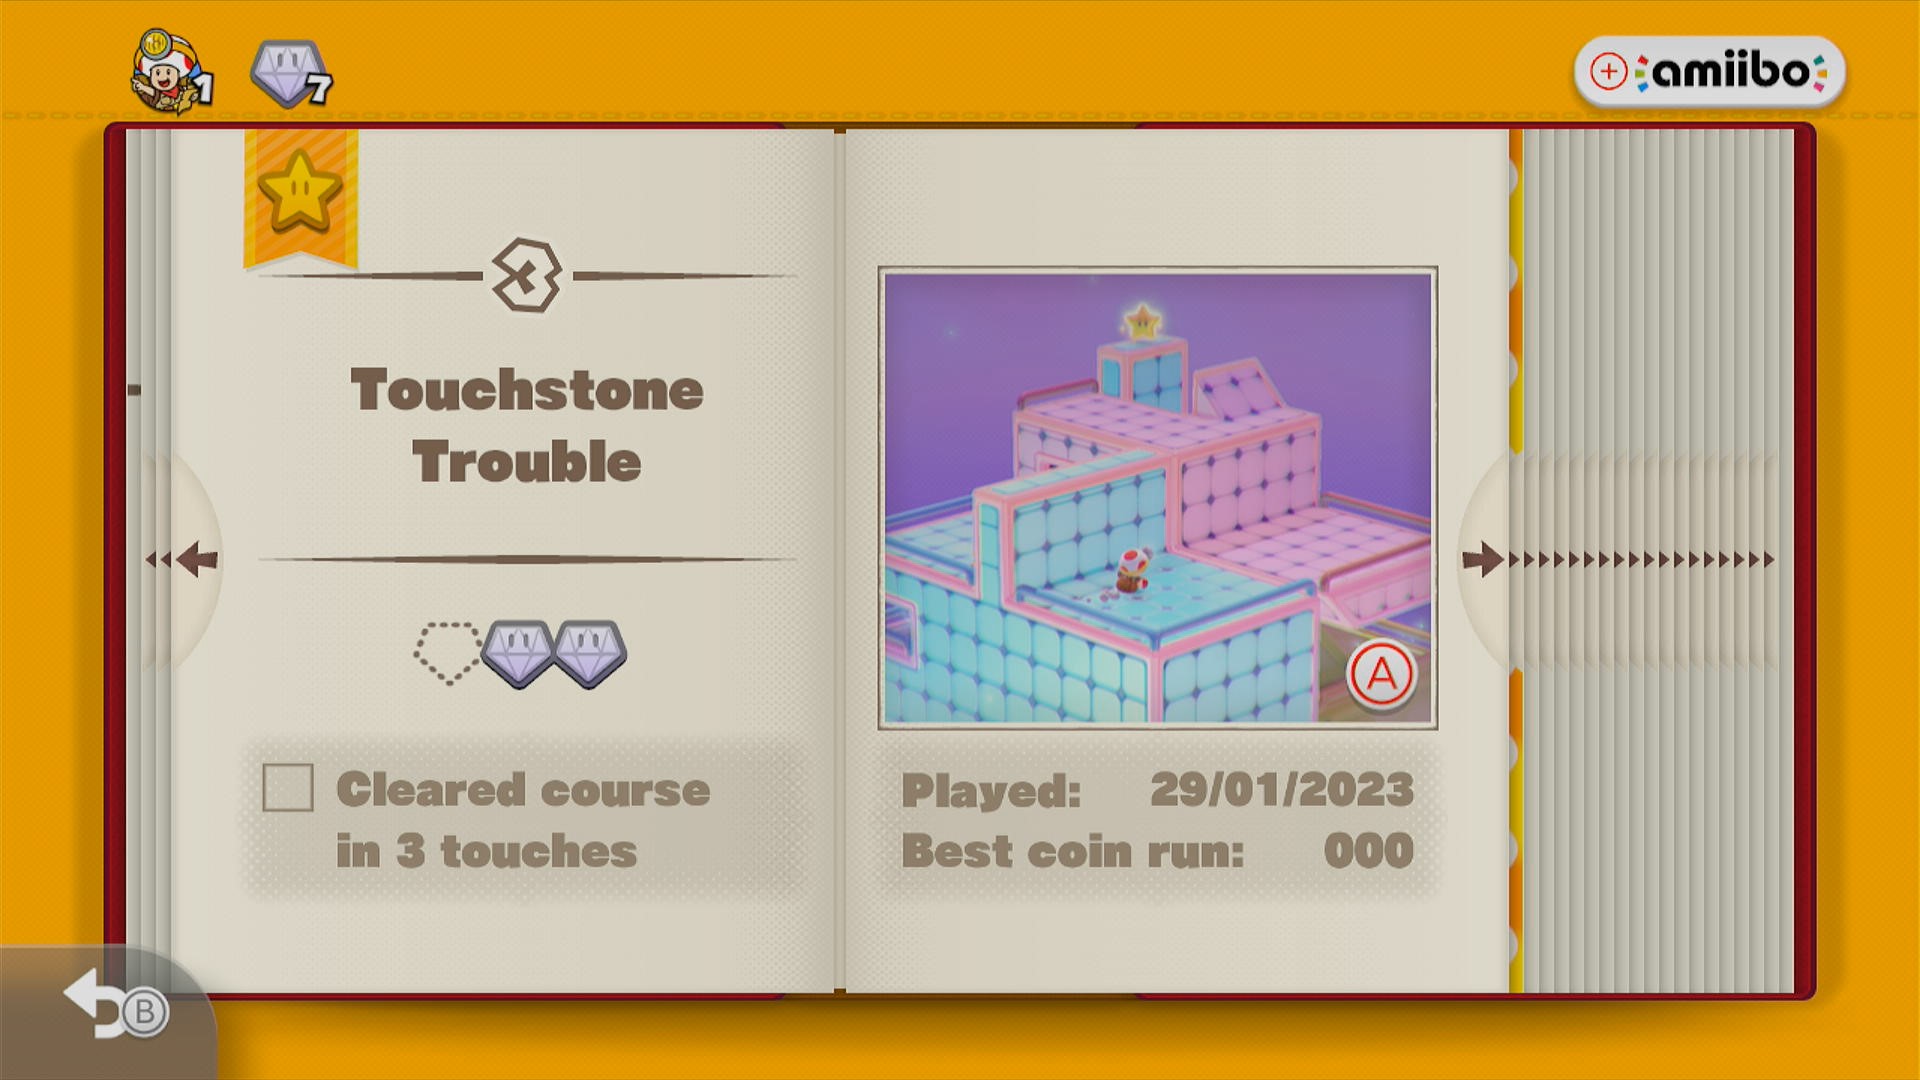
Repeat this process for any other save data you'd like to transfer to your Pretendo profile.